
Chief Gear in Whiteout Survival is more than just flashy armor—it’s the backbone of your tactical edge. Unlockable at Furnace Level 22, this six-piece gear system enhances troop stats across the board, giving your forces a dramatic boost in Attack and Defense. But here’s the kicker: the power lies not just in the gear itself, but in how well you upgrade and sync your setup.
As competition stiffens, more players are seeking optimized profiles with high-tier gear already installed. That’s why many are exploring Whiteout Survival accounts for sale, where elite builds and maxed-out Chief Gear come preloaded for instant PvP readiness. 🎯
Table of Contents
- 🛡️ What Exactly Is Chief Gear?
- 🏗️ Where and How to Upgrade Chief Gear
- ⚔️ Strategic Upgrade Order: What to Prioritize First
- 💰 Save Big with Smart Top-Ups
- 🧭 The Perfect Upgrade Routine for Chief Gear
- 🎯 Maximize Chief Charm Potential Too
- 🔥 Understanding Gear Score and Min-Maxing
- 🎮 Optimize with Strategy, Not Luck

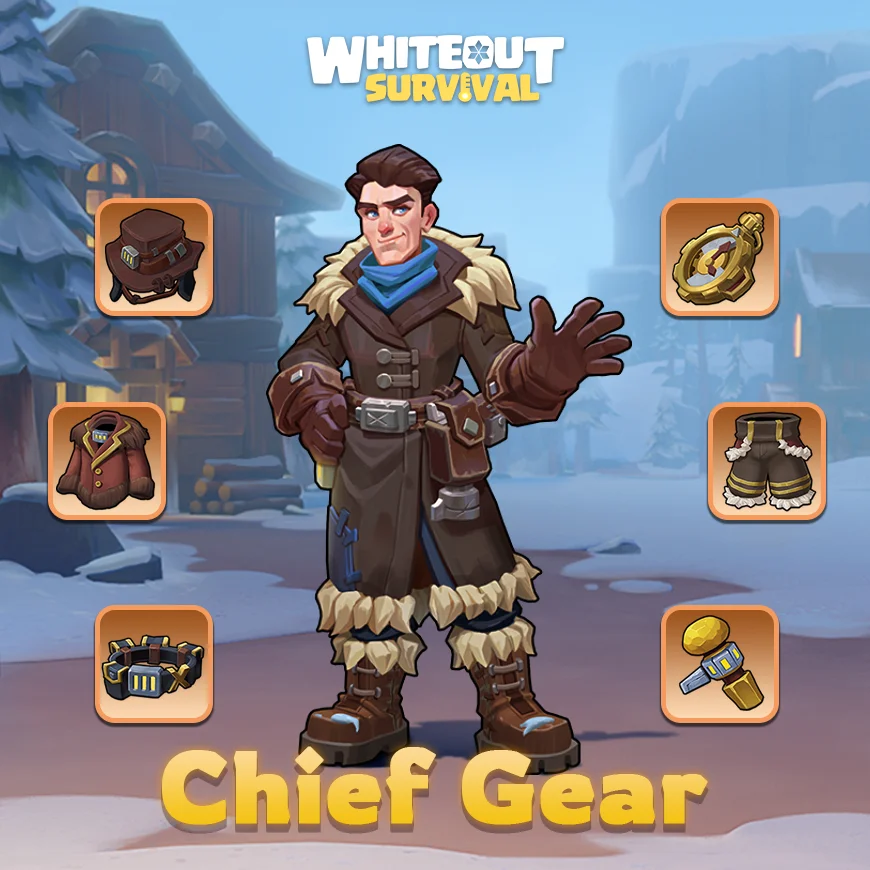
🛡️ What Exactly Is Chief Gear?
Chief Gear consists of six distinct slots:
- Cap/Watch (Lancer stats)
- Coat/Pants (Infantry stats)
- Belt/Weapon (Marksman stats)

These gear slots affect all your troops universally, no matter what heroes are in play. And when you equip sets of the same gear quality, you unlock critical set bonuses:
- 3-piece match = Global Defense Boost
- 6-piece match = Global Attack Boost
From Green (Uncommon) up to Red (Legendary), each quality tier unlocks greater strength. The real power spike begins at Purple and above, where strategic synergy starts dominating the battlefield. If you’re aiming to reach peak potential, you’ll need to study the Whiteout Survival Chief gear upgrade requirements closely and plan.
🏗️ Where and How to Upgrade Chief Gear
To elevate your gear, two main materials are essential:
- Polishing Solution
- Hardened Alloy
Image: Alliance Championship Shop
Both are available in the Alliance Championship Shop and Foundry Shop, requiring Championship Badges for purchase. The trade ratio differs—Polishing Solution (100:1), and Hardened Alloy (1:1)—so spend wisely. 💡
Image: Foundry Shop
From Blue gear upward, you’ll also need Design Plans, obtainable via events or specialized shops. And once you hit Red-tier gear, Amber becomes a must-have resource—best collected through limited-time events and material exchanges.
A well-organized Whiteout Survival Chief gear upgrade chart is invaluable in this situation. It helps visualize material milestones and identify bottlenecks before they stall your progress.

⚔️ Strategic Upgrade Order: What to Prioritize First
Here’s the ultimate gear upgrade hierarchy if you want to dominate:
- Infantry Gear – 🛡️ Tank first. They absorb the hits and set your front line.
- Marksman Gear – 🎯 Glass cannons with serious DPS. Upgrade second.
- Lancer Gear – 🌀 Agile support. They’re less exposed, so last in the queue.
⚠️ Pro Tip: Keep all gear tiers aligned (e.g., bring all to Epic before pushing to Mythic). This prevents uneven bonuses and allows you to utilize both 3-piece and 6-piece set boosts fully.
If you’re feeling lost, many elite players rely on a Whiteout Survival Chief gear Calculator to fine-tune efficiency and predict upgrade returns. This tool helps determine how much you can level before hitting material walls.
💰 Save Big with Smart Top-Ups
Want to reach max potential faster? Don’t grind mindlessly—Whiteout Survival Top Up services like U7BUY offer significant value.
For instance, a “$19.99 Pack” can be bought at a discounted price and used to redeem any in-game pack of equivalent value. These special packs often include Amber, Design Plans, and essential gear materials.
That’s why top-ranking players often stack top-ups during events for maximum gain. Pairing this with your upgrade cycles means more progress, less stress, and better rewards. 💎
🧭 The Perfect Upgrade Routine for Chief Gear
Follow this upgrade cadence to get the best return on your investment:
- Craft Full Set Early – Even Green gear provides universal buffs.
- Target Set Bonuses – Three of the same quality > one ultra-upgraded piece.
- Farm Efficiently – Prioritize events with Design Plans and Alloy drops.
- Don’t Mix Tiers – A mismatched set kills your bonus multipliers.
Knowing the Whiteout Survival chief gear upgrade cost at each tier helps avoid overspending and allows for better event timing. A single misstep—like pushing one gear piece too early—can throw your entire strategy out of sync.
🎯 Maximize Chief Charm Potential Too
Gear isn’t everything—the Chief Charm also plays a pivotal role in buffing stats across the board. Prioritize this order during upgrades:
- Defense Boosts – To protect your Infantry
- Attack Enhancements – Especially for Marksmen
- Skill Bonuses – Great for PvP leadership
Many skip this, but following the correct Whiteout Survival Chief charm upgrade order often results in a higher win ratio during real-time battles. Charms are passive, but their impact is long-lasting and stacks with gear upgrades. ✨
🔥 Understanding Gear Score and Min-Maxing
Once your pieces are upgraded and equipped, you’ll start seeing your Whiteout Survival Chief gear score rise—this number reflects the overall power of your loadout.
But score alone isn’t enough. It’s about efficiency per material spent. Use tools, guides, and calculators to identify upgrade paths that offer the highest return with the lowest investment.
The goal? Hit your Whiteout Survival Chief Gear max score while maintaining balanced growth across all troop types. This makes your army versatile, PvP-ready, and capable of sieging.
🎮 Optimize with Strategy, Not Luck
Mastering Chief Gear is like playing chess—it’s not about how powerful a single piece is, but how well you align the entire board. Use data, follow upgrade paths, time your top-ups, and balance your loadout.
Whether you’re a casual player looking to improve or a high-tier warlord building an empire, this Chief gear Whiteout Survival guide equips you with the knowledge to lead with confidence. 🧠🔥