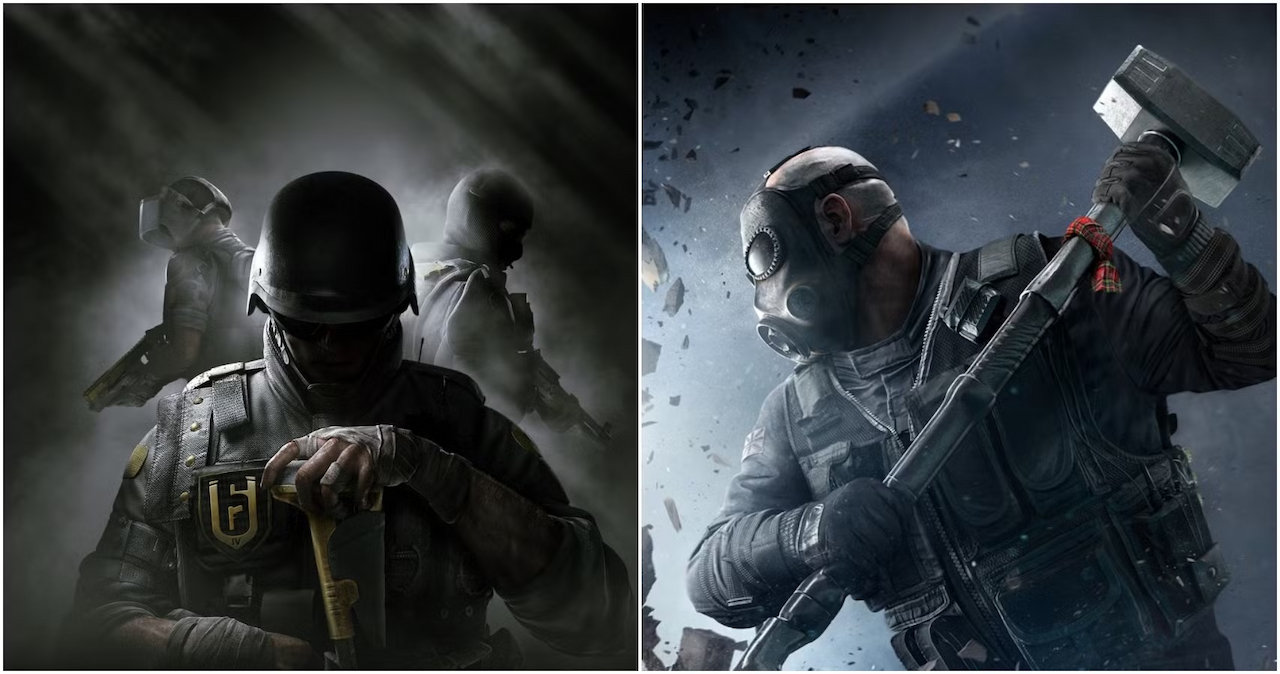
Rainbow Six Siege is a tactical shooter game that is known for strategic depth and diversity in its rosters of operators. For beginners, the right choice of operators helps to learn the mechanics, contribute to the team, and just start enjoying the game. Be you a starter or looking into the game after acquiring R6 accounts for sale, this guide will help you identify the best operators to begin with.
Attackers
Sledge

- Role: Soft Breacher
- Primary Weapon: L85A2 Assault Rifle
- Gadget: Sledgehammer
Why It’s Great for Beginners: Sledge’s primary gadget, the sledgehammer, allows him to breach soft walls, floors, and barricades easily. It’s intuitive to use and teaches new players the importance of destructible environments and creating sightlines for their team. Sledge is also equipped with solid weapons, making him versatile in combat situations.
Thermite

- Role: Hard Breacher
- Primary Weapon: 556XI Assault Rifle
- Gadget: Exothermic Charge
Why It’s Great for Beginners: Thermite’s exothermic charge is critical for breaching reinforced walls, enabling the team to access key areas of the map. His role encourages coordination with teammates, an essential skill for Siege players. Thermite’s dependable weapons and his utility in high-pressure situations make him a staple in most team compositions.
Ash

- Role: Entry Fragger
- Primary Weapon: R4-C Assault Rifle or G36C
- Gadget: Breaching Rounds
Why It’s Great for Beginners: Ash’s gadget is simple yet effective—breaching rounds that destroy soft walls and barricades from a distance. Her speed and weaponry also make her a great choice for those who prefer an aggressive playstyle. Ash is often the go-to operator for players wanting to practice entry fragging and quick decision-making.
Thatcher

- Role: Support
- Primary Weapon: L85A2 Assault Rifle
- Gadget: EMP Grenade
Why It’s Great for Beginners: Thatcher’s EMP grenades disable electronic devices, making it easier for teammates to breach and counter defender gadgets. His straightforward role allows beginners to focus on supporting the team without overcomplicated mechanics. Thatcher also highlights the importance of timing and positioning when using his gadget effectively.
Iana

- Role: Intel Gatherer
- Primary Weapon: ARX200 or G36C
- Gadget: Gemini Replicator
Why It’s Great for Beginners: Iana’s holographic clone is excellent for scouting and gathering intel without putting herself in harm’s way. This ability helps new players learn enemy positions and map layouts. Additionally, her versatile weapons and focus on reconnaissance make her a valuable asset to any team composition.
Defenders
Rook

- Role: Anchor
- Primary Weapon: MP5 Submachine Gun
- Gadget: Armor Pack
Why It’s Great for Beginners: Rook’s armor pack provides additional durability to the team, making him one of the easiest defenders to play. His gadget requires minimal management, allowing new players to focus on map awareness and gunplay. Rook’s role as an anchor also helps teach positioning and defensive tactics.
Kapkan

- Role: Trapper
- Primary Weapon: 9x19VSN Submachine Gun
- Gadget: Entry Denial Devices (EDD)
Why It’s Great for Beginners: Kapkan’s traps are simple to deploy and effective at punishing careless attackers. These devices teach players how to predict enemy movements and set up ambushes. Kapkan’s ease of use makes him a popular choice for newcomers learning the art of trap placement and defensive strategy.
Mute

- Role: Intel Denier
- Primary Weapon: MP5K Submachine Gun
- Gadget: Signal Disruptors
Why It’s Great for Beginners: Mute’s signal jammers prevent attackers from using drones and electronic devices, giving defenders a significant advantage. His role emphasizes the importance of denying enemy intel. Mute also has access to strong secondary gadgets, such as a shotgun and C4, which add versatility to his gameplay.
Lesion

- Role: Trapper
- Primary Weapon: T-5 SMG
- Gadget: GU Mines
Why It’s Great for Beginners: Lesion’s invisible GU mines injure and slow down attackers, providing audio cues when triggered. These mines are easy to deploy and help beginners learn area denial tactics. Lesion’s ability to gather intel and stall enemy advances makes him invaluable in defensive scenarios.
Bandit

- Role: Roamer/Anti-Breach
- Primary Weapon: MP7 Submachine Gun
- Gadget: Shock Wire
Why It’s Great for Beginners: Bandit electrifies reinforced walls and barbed wire, damaging attackers and their gadgets. His gadget is simple but impactful, making him a strong choice for those interested in roaming. Bandit’s speed and weaponry also make him a versatile defender capable of engaging enemies effectively.
General Tips for Beginners
Importance of Gadget Use
Understanding and utilizing operator gadgets effectively is crucial in Rainbow Six Siege. Beginners should focus on operators with simple and impactful gadgets, such as Rook’s armor pack or Thatcher’s EMP grenades. These tools are easy to grasp and provide significant benefits to the team. Operators with defensive gadgets, like Kapkan and Mute, teach players how to control areas and deny intel to opponents.
Map Awareness
Learning the maps is a vital part of improving in Siege. Operators like Sledge and Iana can help beginners explore destructible surfaces and vantage points, teaching them how to navigate and control the battlefield effectively. Maps in Siege are layered and intricate, making the ability to create new paths and control sightlines essential.
Teamwork
Rainbow Six Siege heavily emphasizes teamwork. Rainbow Six Siege Operators like Thermite and Thatcher highlight the importance of collaboration, as their gadgets work best when paired with other operators. Communication and coordination are key to success. Understanding how your operator’s role complements the rest of the team is a fundamental skill in Siege.
Weapon Selection
Choosing operators with easy-to-handle weapons is important for new players. Reliable guns like the MP5 (Rook), L85A2 (Sledge and Thatcher), and ARX200 (Iana) provide manageable recoil and good damage, helping beginners focus more on strategy than mastering difficult weapon mechanics.
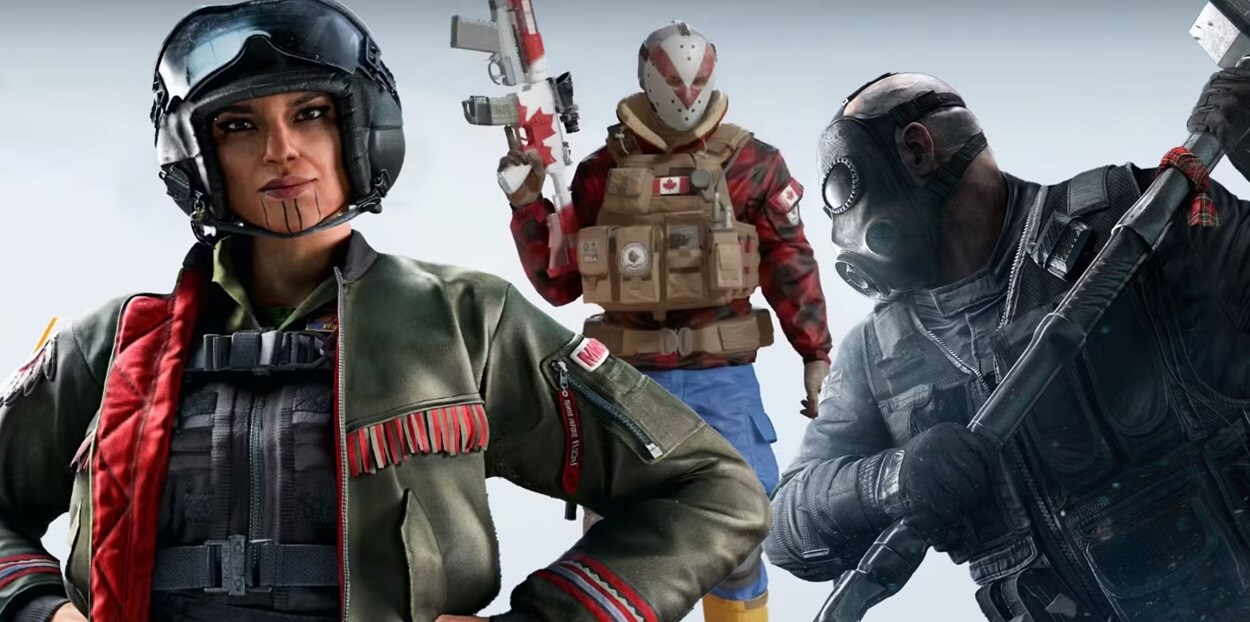
Unlocking Operators
For players looking to expand their roster quickly, it’s possible to buy R6 credits to unlock operators. While this can be tempting, it’s recommended to first master the basics with the operators mentioned above before moving on to more complex characters. Developing core skills with these beginner-friendly operators will make transitioning to advanced gameplay much easier. Additionally, Rainbow Six Siege frequently updates its roster and provides opportunities to unlock operators through in-game progression, making patience a rewarding strategy.
Conclusion
With the steep learning curve, starting to play Rainbow Six Siege can be a bit challenging, but having the right operators makes all the difference. Excellent attackers include Sledge, Thermite, Ash, Thatcher, and Iana. For the defenders, one should consider having Rook, Kapkan, Mute, Lesion, and Bandit. These operators offer straightforward gadgets and reliable weaponry, making them perfect for beginners to grasp the game’s mechanics and contribute to their teams.